December 2023 // LEGO // Minecraft MOC // Updated August 2026
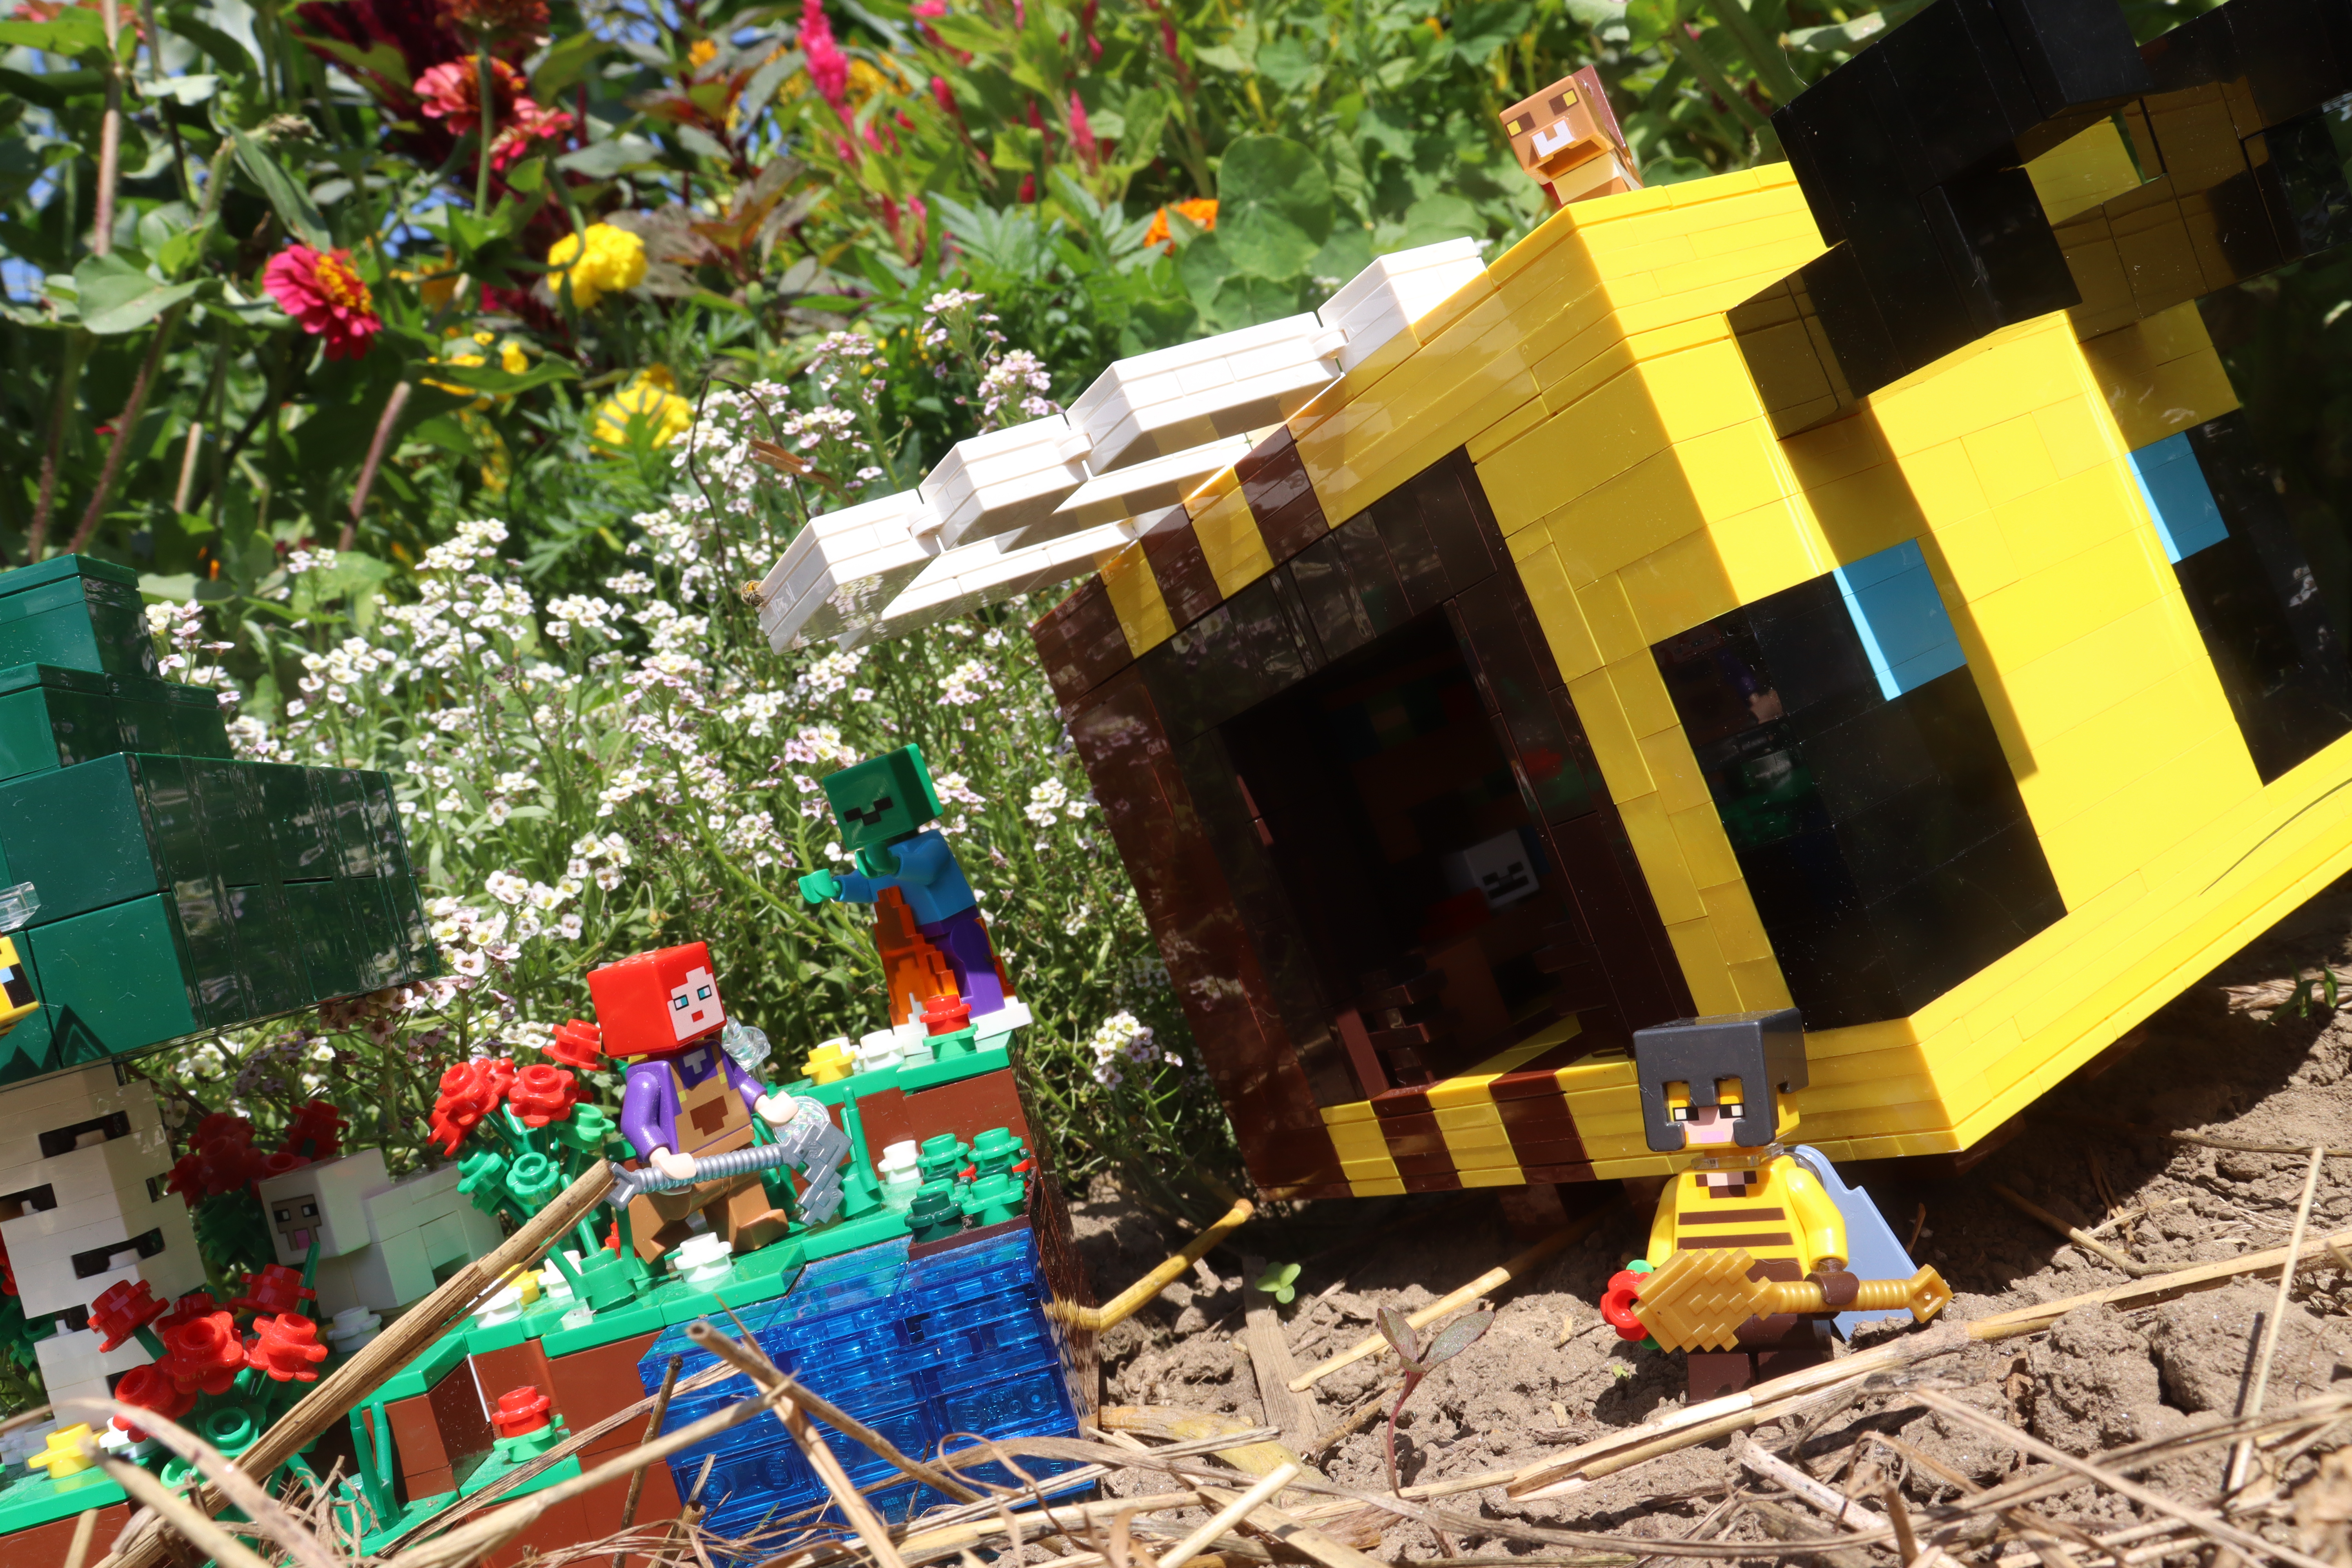
Return to Previous PageWhen I was first learning Studio, I thought a good first project would be upscaling a LEGO Minecraft set I loved at first sight: 21421 The Bee Cottage. When I first built the set, I liked it, but I wanted something more. Upscaling it to make it more game-accurate seemed like the perfect project to get my feet wet in Studio.
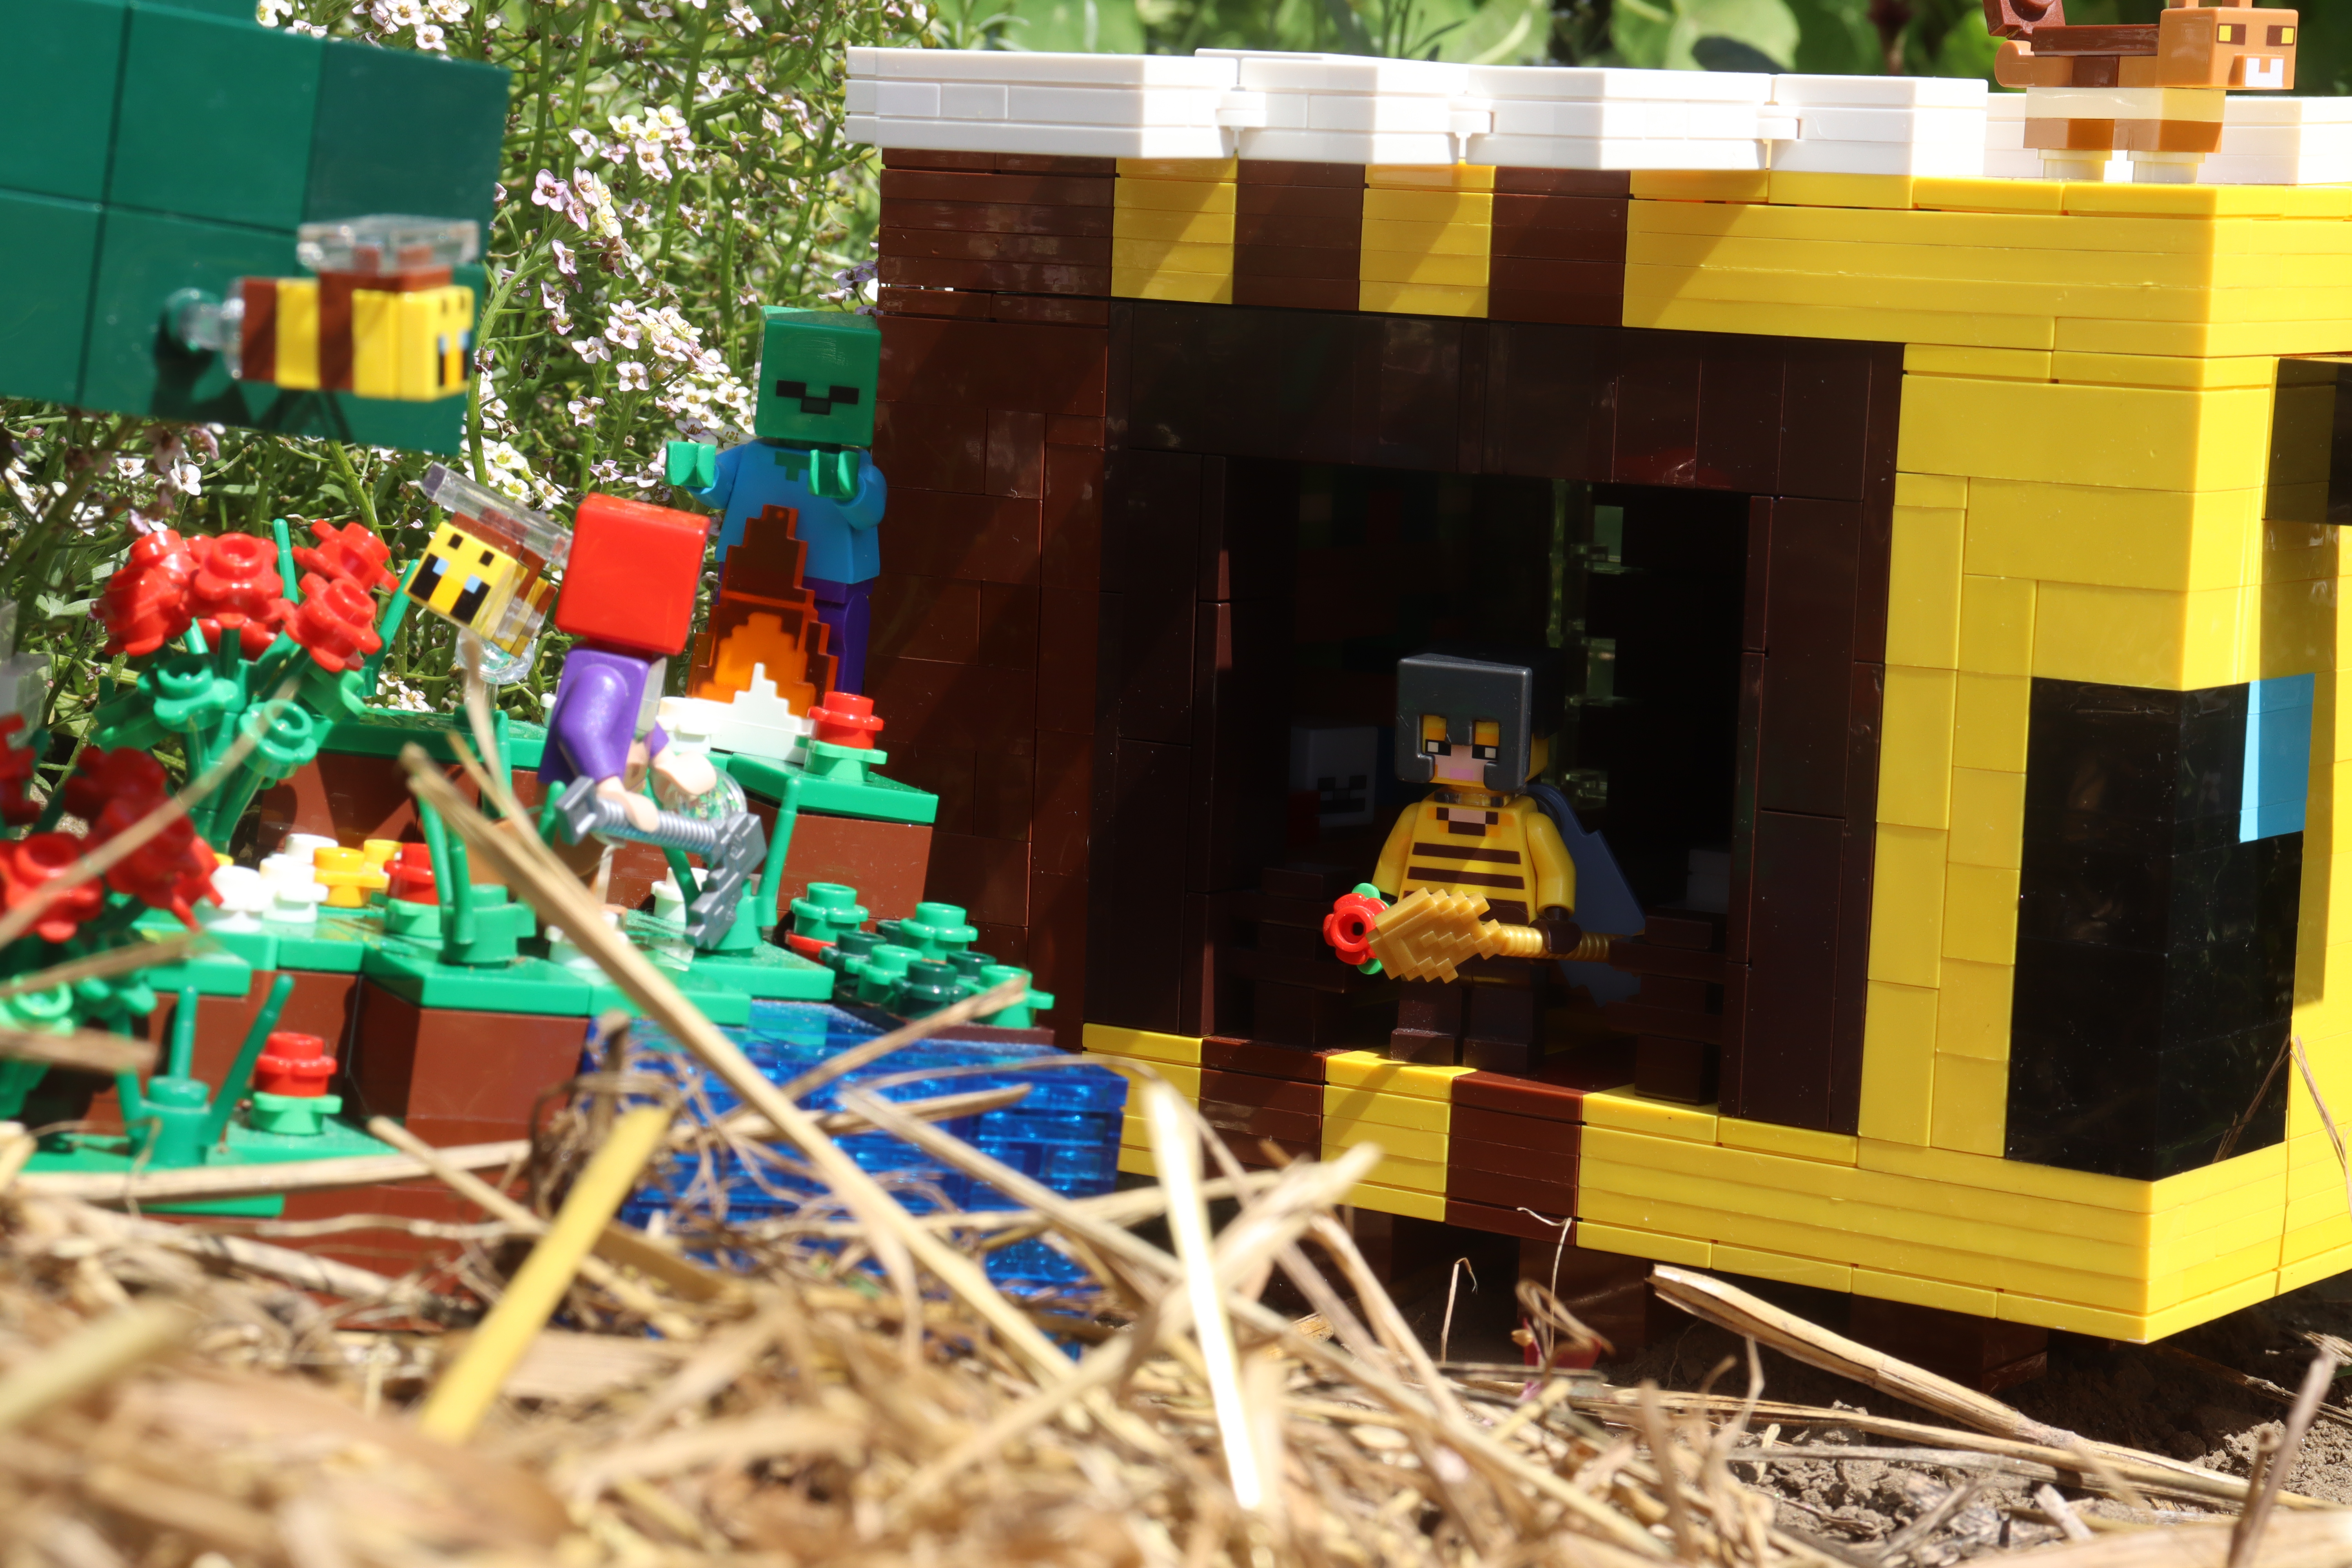
At the time, I was really proud of my original model. It accomplished exactly what I was looking for: a large Minecraft Bee with a removable roof for access to the interior. While the house had some basic amenities for the player living inside, it was clearly lacking. The land section of the model also had its fair share of issues. While I am happy I kept the same footprint as the original set, it felt too simple, and I didn't take nearly enough creative liberties when translating it into my own design. Not a ton changed in this section during the revamp, but the updates I did make made it feel much more visually exciting.
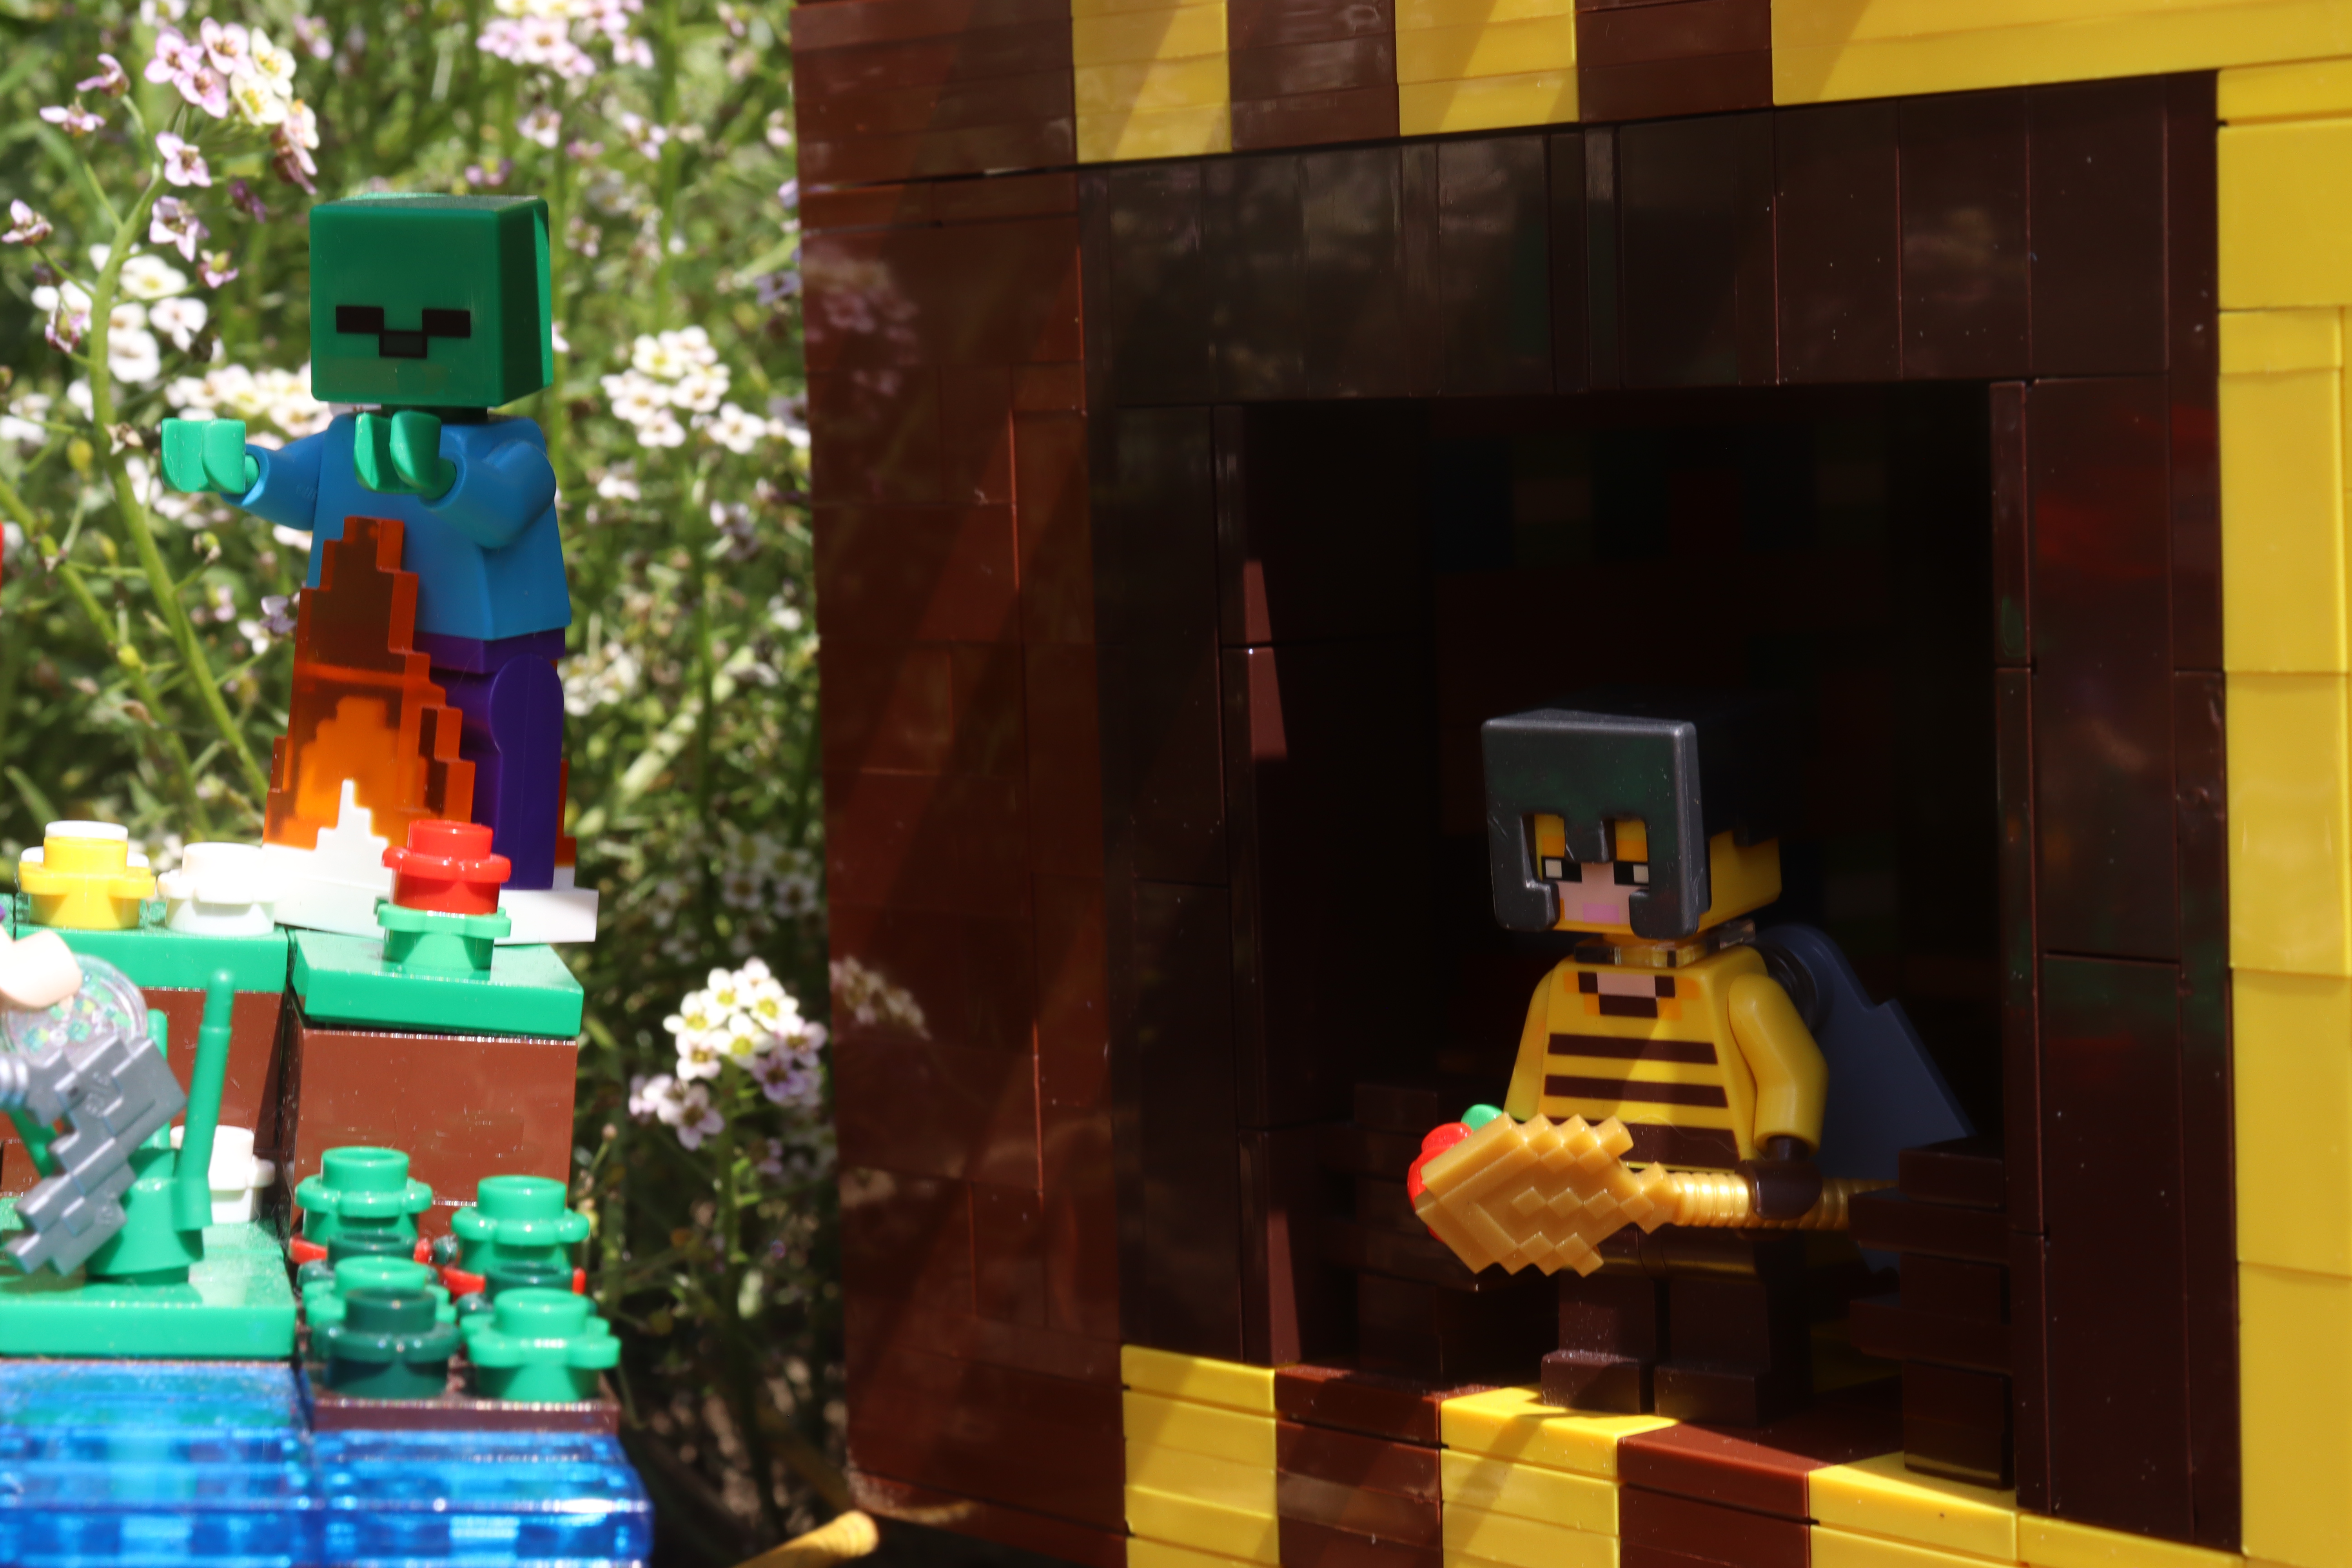
When tackling the revamp, the house was where I knew I needed to make the most changes. This time, I decided to design it in the game first to get a better idea of what I wanted to include and a greater understanding of the space I was working with. The end result was a much bigger challenge to pull off, but I was able to make it work using several interesting techniques. For example, I built a large portion of the back wall on its side and upside down so I could fit the stairs next to the bed while also creating the textured trapdoor backdrop behind it.
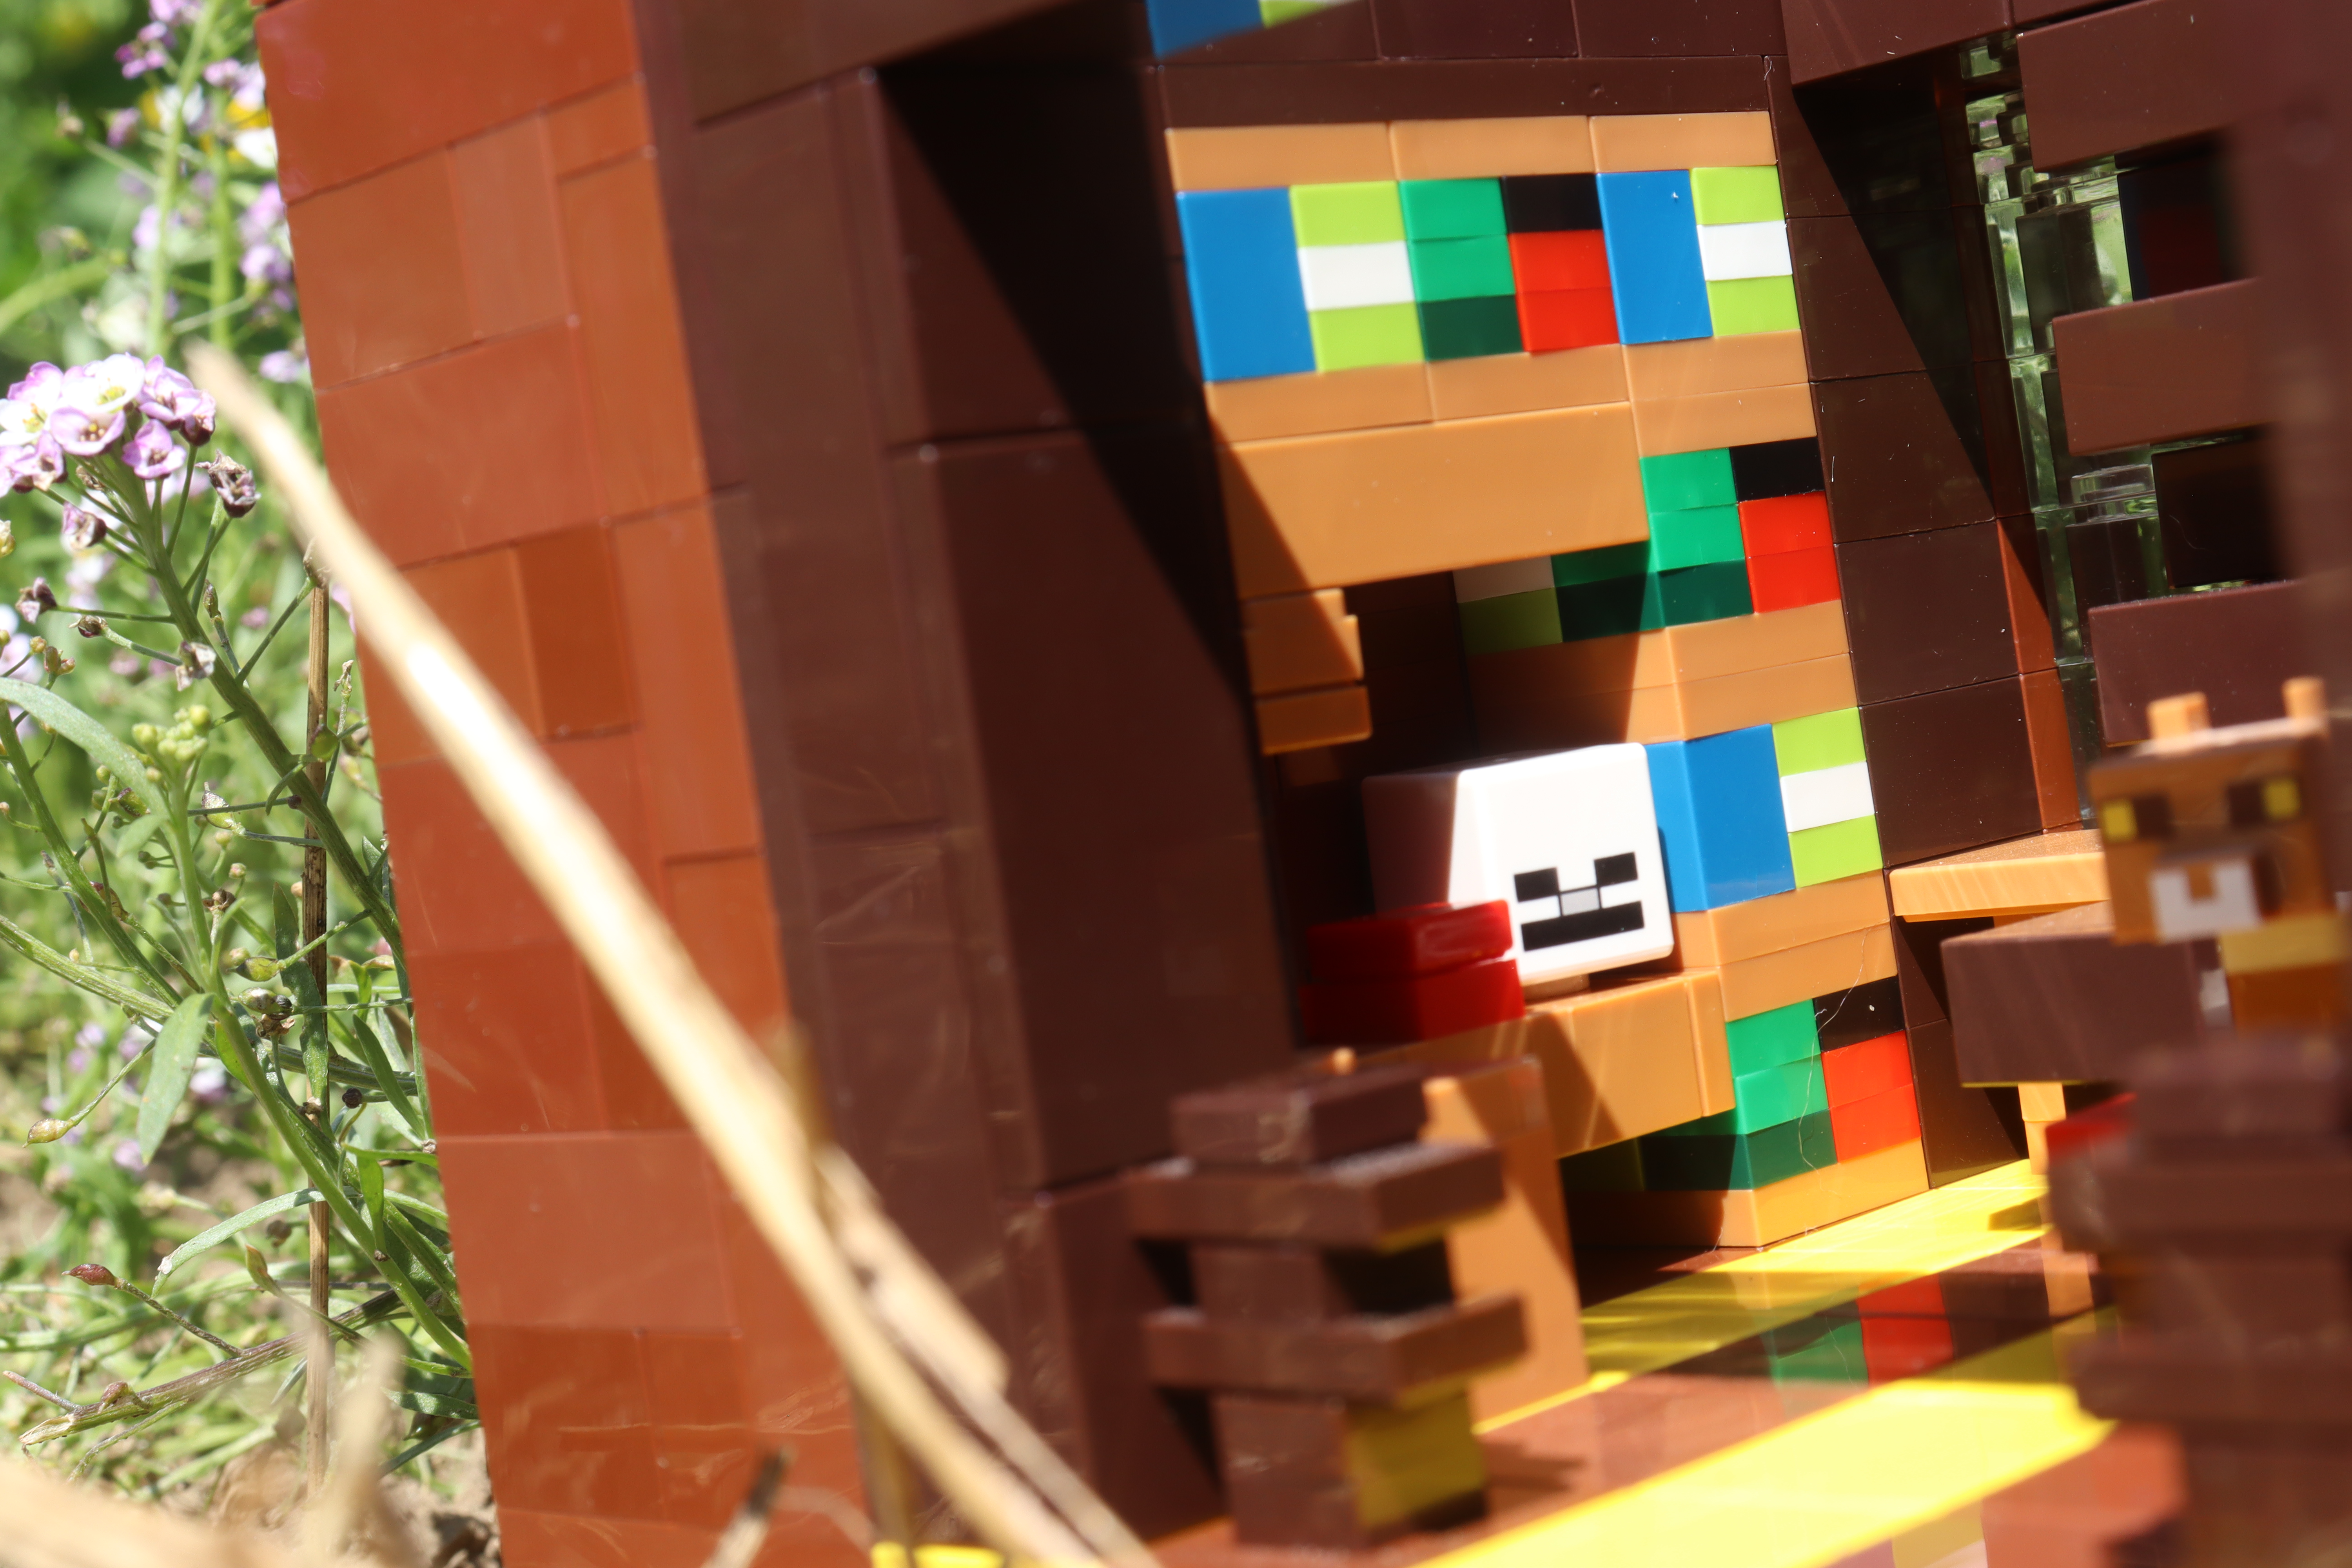
Making the bookcases was another fun challenge. I didn't want every block to look identical, so I flipped the texture around on every other block. It's a small detail, but I think it helps break up the repetition and makes the wall feel more natural. One of the greatest additions to the LEGO Minecraft parts portfolio in 2026 was the new Minecraft chest piece. Being able to use that instead of the old 2x4 chest, and no longer having to leave room for its handles, made the build much cleaner. I also made a few smaller changes, including brick-built antennas and a stinger instead of simply recreating the walls from the game, as well as slightly modifying the wings. While they still aren't completely block-accurate, they are about as close as I could get them.
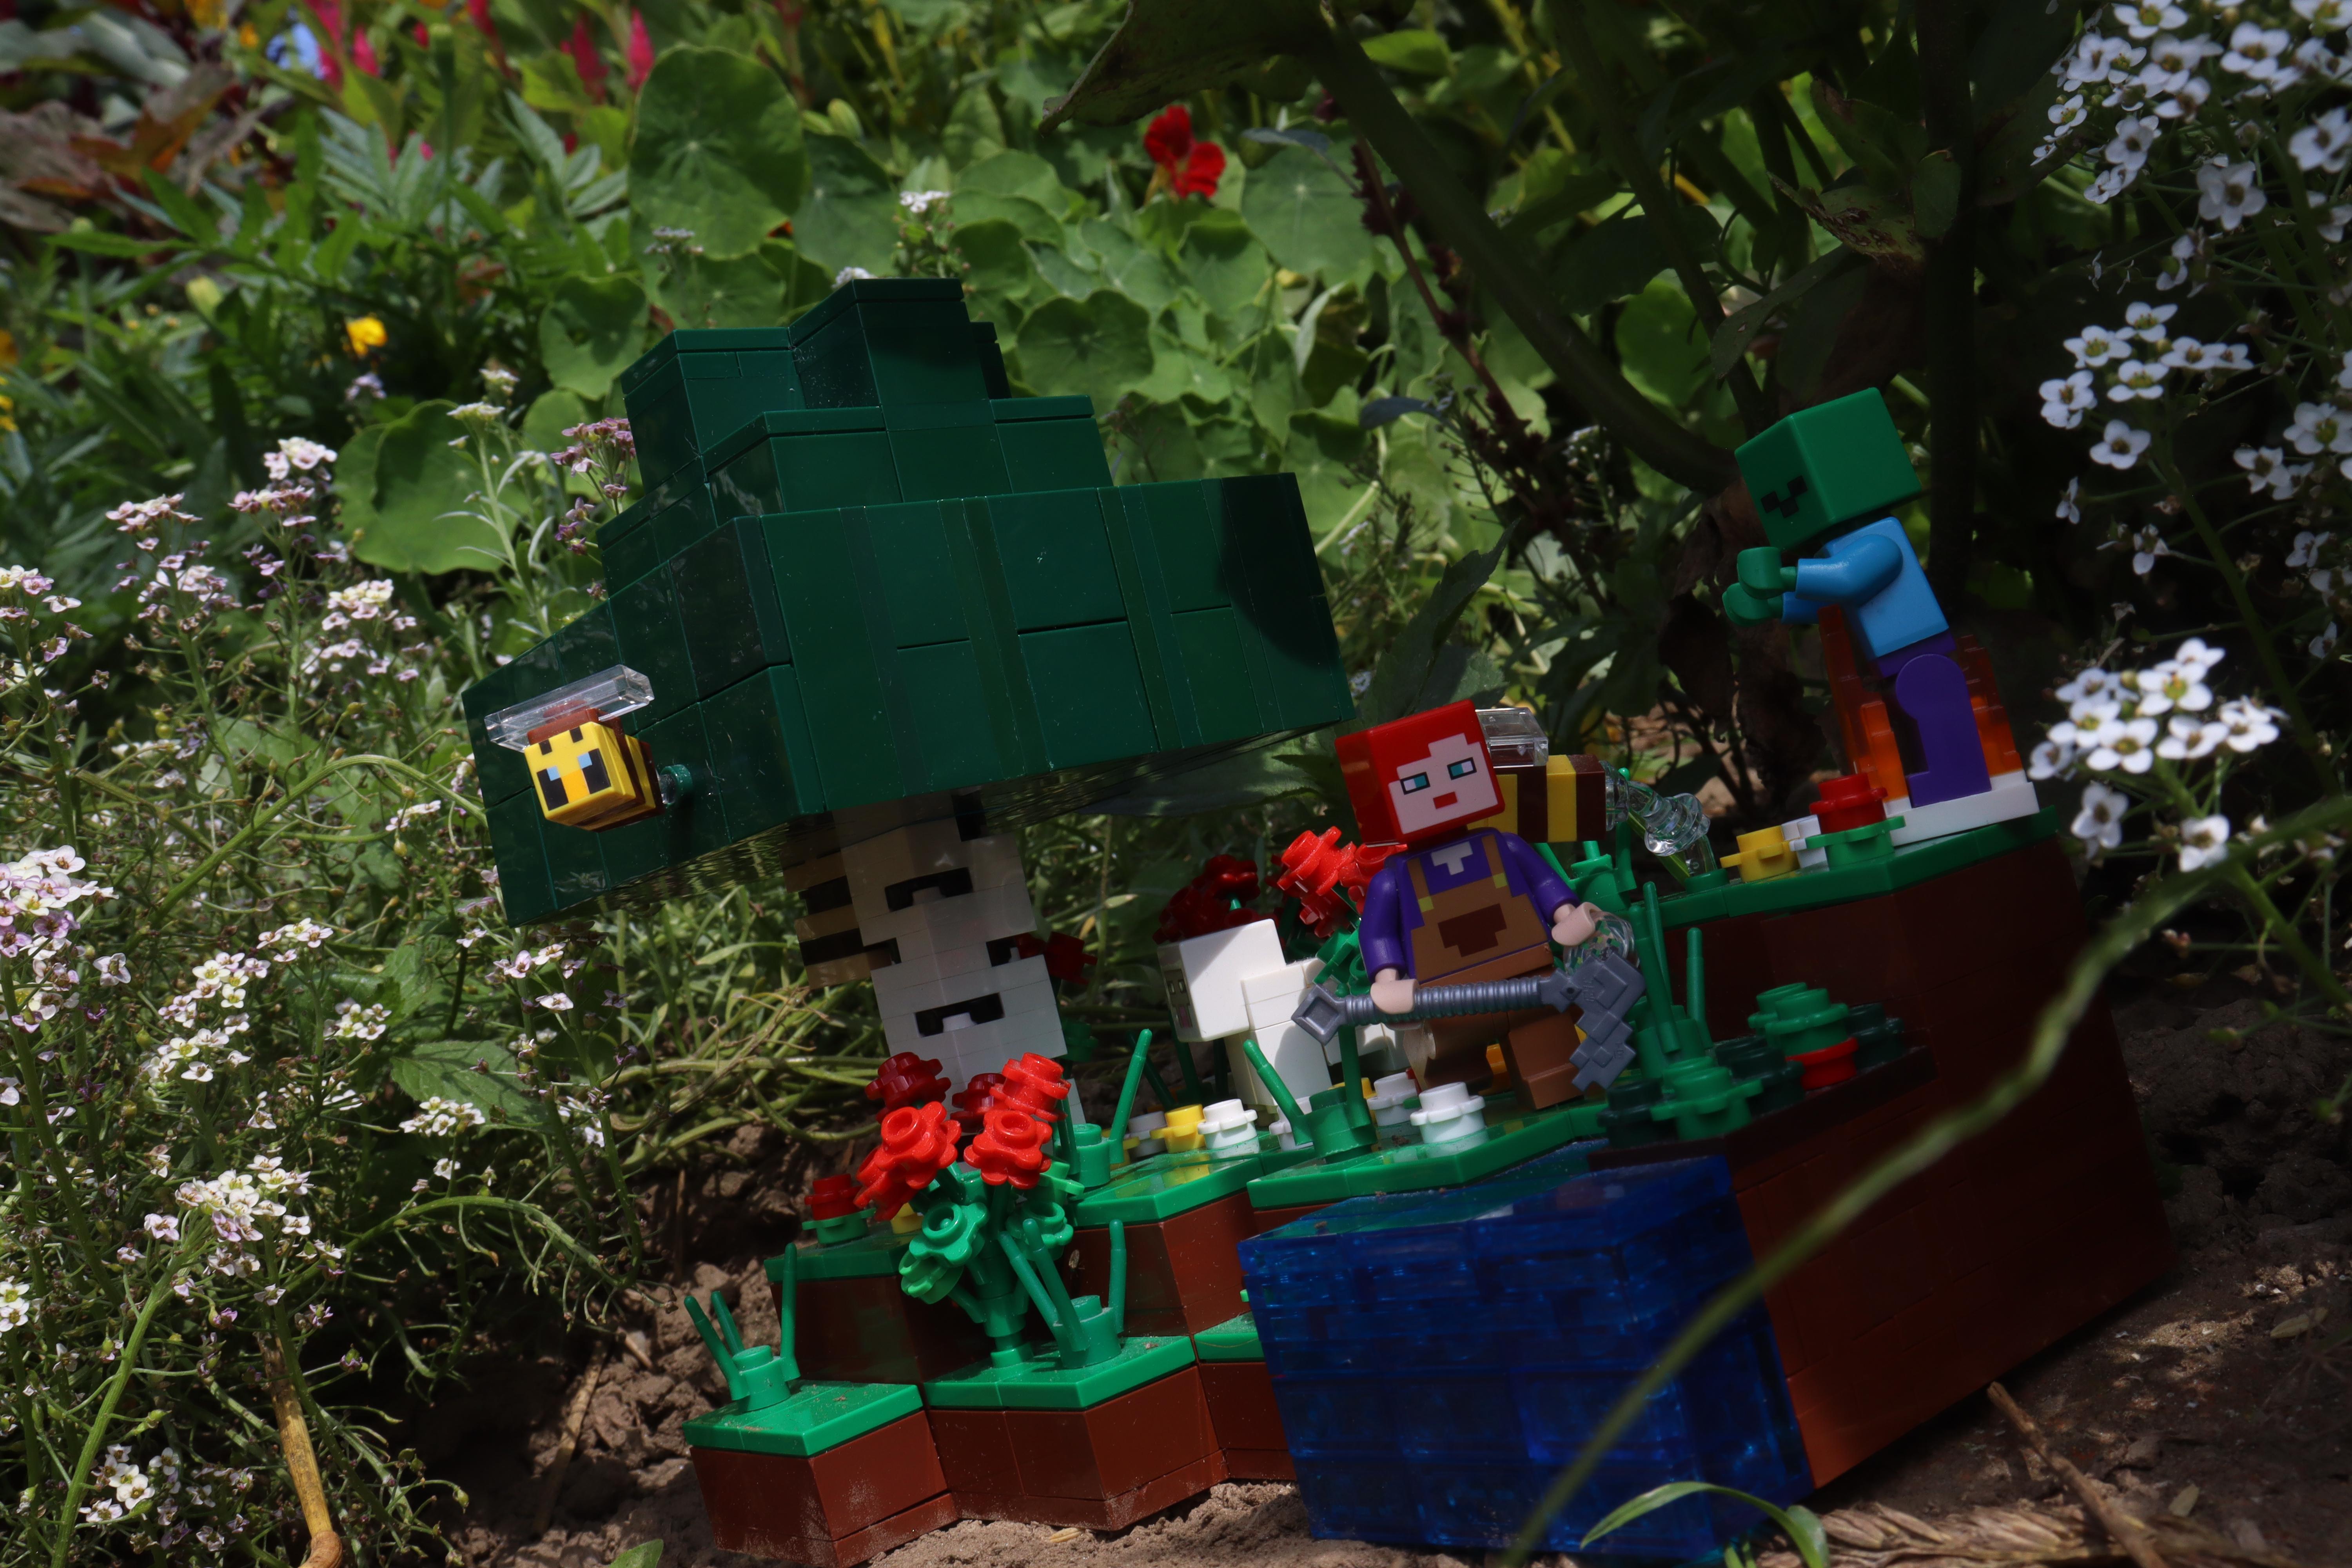
For the land section, I made a few smaller changes that I think were incredibly effective. The most noticeable was the addition of rose bushes. By stacking the older flower piece with a 4-knob round plate, I was able to create a rose that looks surprisingly accurate. Using different shades of green flower petal pieces for the lower stems also adds some much-needed color variation and helps bring the whole section together.
I also made some changes to the tree, primarily to make the birch log texture more consistent. Unfortunately, the new texture does compromise the stability of the tree. I'm not particularly happy about that, but with the current LEGO parts portfolio, Minecraft trees tend to be pretty fragile anyway. For the sake of the appearance, I decided the tradeoff was worth it.
The sheep also received an update. I no longer use the 1x2 brick with channel, since that piece doesn't exist in every color needed for the sheep, while 1x1 bricks do. The small gap between the two bricks still gives the appearance of two legs next to each other, and being able to keep the design consistent across every sheep made this my go-to solution.
I wanted to keep the spirit of the original model relatively intact, so I didn't want to make any drastic changes. I considered adding some play features, but nothing felt like it would fit without compromising the model's displayability. Regardless, I think the removable roof counts as a play feature to some degree.
I'm really happy that I was able to take one of my first big LEGO projects and turn it into something new while preserving the charm of the original model. It's been really rewarding to revisit something that helped me learn Studio in the first place and see how much I have grown since then.